My Adobe Edge Delivery Journey

I built this website using Adobe Edge Delivery Services (EDS) in just seven days - starting from a blank repository and ending with a fully deployed, performance-optimized, production-ready site.
This article documents the complete journey: the architecture decisions, the development process, the content model, and the custom publishing workflow I implemented - including a tailored “Send For Review” experience designed for real-world content governance.
This site is not a traditional portfolio.
It’s my learning lab, architecture notebook, and publishing platform for sharing real implementation experiences, ideas, and solutions.
Why Adobe Edge Delivery Services
I chose EDS because it fundamentally changes how modern websites are built and operated:
- Content is authored in familiar document tools (DA.live)
- UI is assembled from modular, reusable blocks
- Pages are delivered globally from the edge for exceptional speed
- Content and code are versioned in GitHub
- Developers and content authors work in parallel without friction
It’s the cleanest architecture I’ve seen for high-performance content platforms.
Phase 1 - Setting the Direction
Before writing any code, I defined three core goals:
- Keep authoring simple and accessible
- Build a reusable, future-proof block system
- Make performance, SEO, and scalability first-class concerns
EDS aligned perfectly with all three.
Phase 2 - Repository & Deployment Pipeline
I initialized the project using Adobe’s official EDS boilerplate and connected it to GitHub with AEM Code Sync.
This gave me a complete deployment pipeline:
Local → GitHub → Preview → Live
Core project structure:
/blocks- all reusable UI blocks/scripts- EDS bootstrapping & loaders/styles- design tokens & global stylinghead.html- dynamic<head>injectionfstab.yaml,paths.json,helix-sitemap.yaml- routing & config
From the very beginning, both environments were available:
- Preview:
*.aem.page - Production:
*.aem.live
Phase 3 - Document-First Authoring with DA.live
DA.live became the primary authoring interface.
Pages are built using simple tables where:
- The first row defines the block type
- The following rows define content
This structure keeps content predictable, scalable, and extremely easy to maintain without sacrificing flexibility.
Phase 4 - Development Loop
My daily development rhythm:
- Modify block code locally
- Refresh browser - see changes instantly
- Commit and push to GitHub
- Code Sync deploys to Preview
- Publish when ready
This tight loop made experimentation fast and safe.
Phase 5 - Designing the Block System
I implemented the foundational blocks that power the entire site:
- Header - responsive navigation
- Hero - page identity and call-to-action
- Cards - content and feature grids
- Focus - content and feature grids
- Blog List - List of articles
- Blog Article - Details of Article
- Footer - global navigation and branding
These blocks act as the building blocks for every page and article.
Phase 6 - Styling & UX Foundations
The site uses:
- CSS variables as design tokens
- centralized font management
- lazy-loaded non-critical styles
- mobile-first responsive layout
The result is a clean, fast, and consistent user experience.
Phase 7 - Content Architecture
I established a simple but scalable content model:
/index- home/blogs- article listing/blogs/post-name- individual posts- shared
/navand/footerdocuments
This structure makes content growth easy without creating technical debt.
Phase 8 - Domain & Edge Setup
The site is deployed with:
sbtechlabs.blogas the primary domainsbtechlabs.comredirecting to.blog- Cloudflare for DNS and edge handling
A Cloudflare Worker manages routing and edge logic.
Phase 9 - SEO & Performance Hardening
Initial audits surfaced common problems:
- indexing issues
- missing language attributes
- canonical inconsistencies
- heading hierarchy problems
I fixed these with:
- dynamic canonical generation
- proper
langinjection - sitemap & robots configuration
- strict heading structure rules
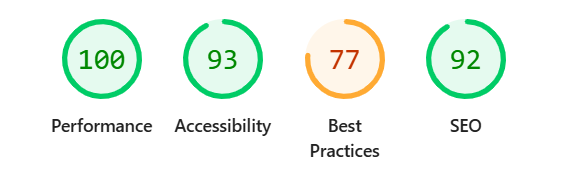
This dramatically improved Lighthouse scores and crawl health.
Phase 10 - Publishing Workflow
EDS follows a clean publishing lifecycle:
Author → Preview → Publish
Everything is accessible directly from the page through the Sidekick.
The Custom “Send For Review” Workflow
Real publishing requires more than just deployment.
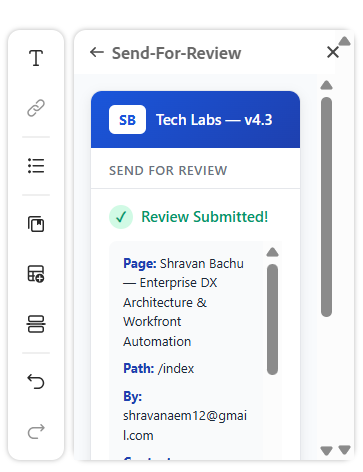
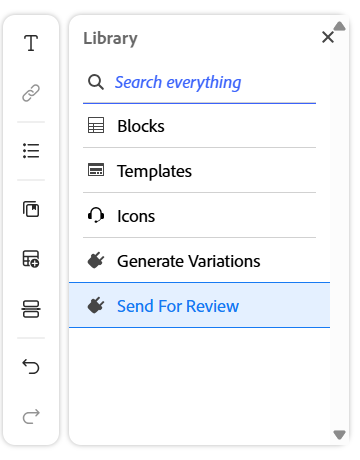
So I built a custom Send For Review experience directly into DA.live.
When an author clicks Send For Review, the system:
-
Detects page context automatically
-
Fetches the content using EDS-optimized endpoints
-
Analyzes the document:
- content metrics
- heading structure
- block usage
- SEO and accessibility signals
- links and metadata
-
Packages the results into a structured review payload
-
Sends it into an approval and automation pipeline
-
Prevents duplicate submissions until content changes
This brings measurable governance into the publishing flow.
What This Site Represents
This site is:
- my technical journal
- my experimentation space
- my architecture reference
- my place to publish real solutions and insights
It evolves as I learn, build, and refine.
What’s Next
Next phases include:
- advanced block development
- richer article templates
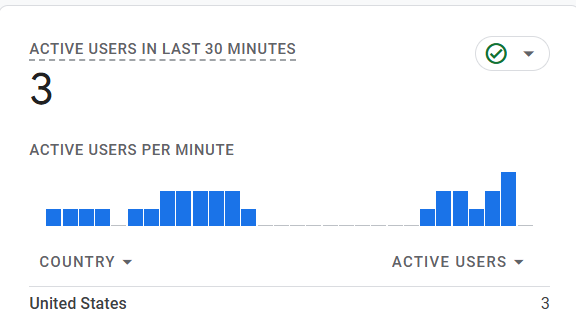
- analytics & engagement tracking
- deeper automation across content operations
- real-world implementation case studies
If you’re exploring Adobe Edge Delivery Services, modern content platforms, or digital experience architecture, this site will continue to document the journey honestly and in depth.
Want the detailed implementation guide?
We’ll publish the deep dive as a series:
- Part 1: EDS + DA.live + Block architecture and patterns
- Part 2: Custom domain, SEO hardening, caching, and “Send For Review” workflow design